The last of 2012

Yay to surviving apocalypse! The world gave us another day to live, love & laugh. Some may think that the world won’t end. I honestly do believe it will, but we aren’t sure when would that happen. The Earth has been staying strong to withstand all our human greeds. Our greed to profit that cause the ozone layer to tear and many more.

Nonetheless, let us keep our hopes high and hope that we could help mother earth live another day :D

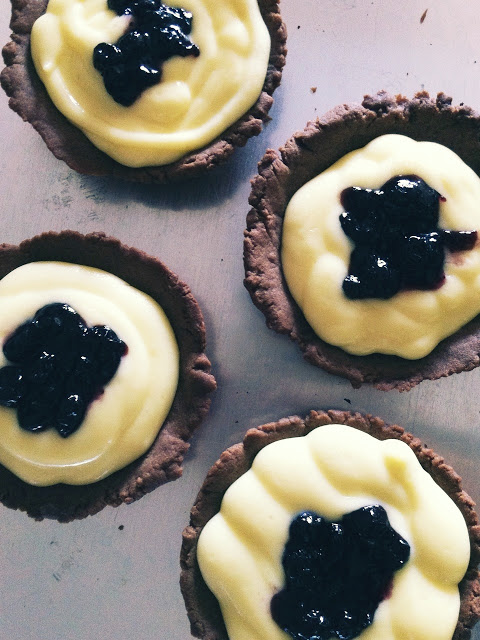
Even when 2012 is ending, I am so shameful for not completing most of my 2012 resolutions. Probably achieved one which is to bake more. haha!

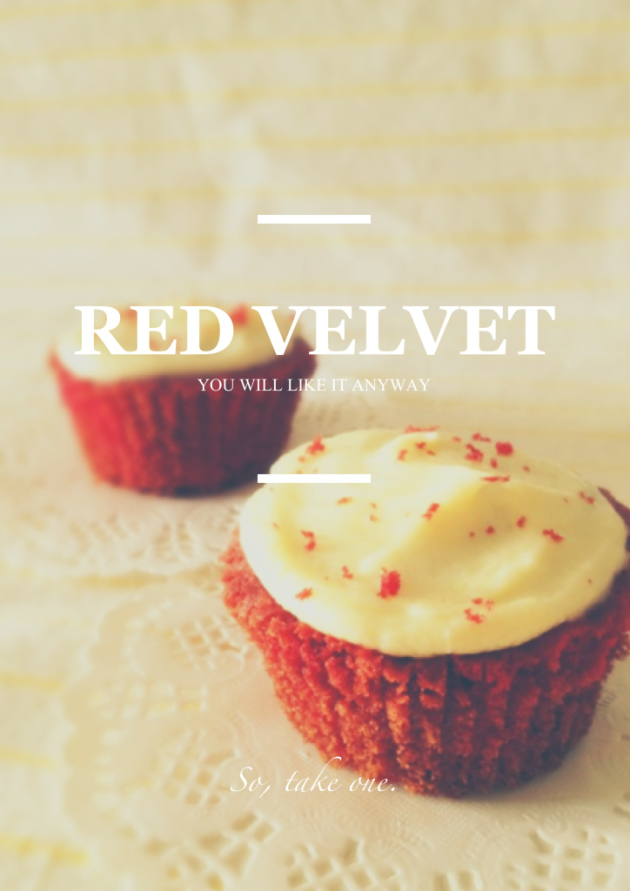
SO…….. for chocolate lovers out there, keep a lookout! I have a few chocolate recipes to share! And I’ll start with the chocolate cupcakes that I baked for the party. The actual name of this cupcake is pretty long (that is Chocolate cupcake with Nutella cloud frosting,  adapted from Sweetapolita), in short I’ll just call it, “The chocolate cupcake”. Do refer to her site for original recipe, cos I’ve made few modifications for a less sweet cupcake which could have been sweeter. If you get what I mean.

thechocolatecupcake

The Chocolate Cupcake

Ingredients
Cupcake

  • 95g all-purpose flour
  • 120g caster sugar
  • 30g dark cocoa powder
  • ¾ tsp baking soda
  • ¾ tsp baking powder
  • ¾ tsp cornstarch
  • ½ tsp salt
  • ⅓ cup buttermilk
  • ¼ cup brewed coffee or espresso (hot)
  • 3 tbsp vegetable oil
  • 1 egg (room temperature, lightly beaten)
  • 1½ tsp vanilla extract

Frosting

  • 227g unsalted butter (softened but cool)
  • 190g icing sugar (sifted)
  • 2 tsp vanilla extract
  • 125g bittersweet chocolate (chopped, melted and slightly cooled)
  • 2 tbsp Nutella
  • 1 tbsp milk
  • pinch of salt

Method
Cupcake

  1. Preheat oven to 180° C and line a muffin/cupcake pan with your favourite cupcake liners.
  2. In the bowl of electric mixer fitted with the paddle attachment, sift flour, sugar, cocoa powder, baking soda, baking powder, cornstarch and salt.
  3. In a medium bowl or measuring cup, combine the buttermilk, coffee, oil, egg and vanilla.
  4. Add liquid mixture to dry ingredients and mix for 2 minutes on medium speed (you may need the plastic splashguard that comes with mixer), fill up liners to ⅔ full (a little more than half). Batter will be liquidy, and cupcakes will rise.
  5. Bake for 15-17 minutes, or until toothpick or skewer comes out with a few crumbs. Try not to over-bake. Carefully remove cupcakes from the pan immediately, and place them on a wire rack until completely cool.

Frosting

  1. In a bowl of stand mixer fitted with paddle attachment, combine the icing sugar and butter and beat on low speed for about 1 minute.
  2. Add vanilla, and beat on low speed until well combined. Add the melted and slightly cooled chocolate and beat on medium speed.
  3. Add the Nutella, milk and pinch of salt, and beat on med-high speed for another minute.

Here’s a review from my culinary student boyfriend:

The cupcake is not too sweet which is good. The creaminess of the frosting was not overpowering. I like it! 8/10, it’s above average.

Haha! I promise there’s not even one cent of bias. We are very honest when it comes to tasting each other’s cooking/baking. For those of my friends who tasted it, I hope you enjoyed the cupcakes!

Ending this post with a song that I’ve been looping.

Merry X’mas & Happy New Year!
And I hope you know where to for the upcoming year.
Jeul

A month of sharing

Earl Grey Cookies

Hellooooo!!!!

December is always the best month! And we’re one week away from the holly jolly christmas.
It’s truly a month of giving and sharing, I got my mum a pot of pink/purple flowers, and she was really really happy. I can tell! Since it’s a festive season and the last month of the year, there’s lots of sales going on that I got boyf a pair of slippers to replace his broken one! It feels really good to be a little santarina now. Can’t wait for boyf to receive his next few gifts which he is totally unaware. Got one of them mailed, and I’ll pass him the last one personally. Hohoho.

And today, I’m going to share with you my favorite cookie recipe! Are you excited? :D Heh.

*drum rolls*

It’s my favorite, Earl Grey Cookies by Martha Stewart. You can get the recipe from her site (here), or if this is convenient, you can refer to the recipe below! :D

Earl Grey Cookies by Martha Stewart

Ingredients

  • 2 cups plain flour
  • 8 bags earl grey tea leaves (grind till it resembles fine powder)
  • ½ tsp salt
  • 227g unsalted butter, softened
  • ½ cup icing sugar
  • 1 tbsp finely grated orange zest (I used lemon)

Method

  1. Whisk flour, tea, salt together and set aside.
  2. Put butter, sugar, and zest in the bowl of an electric mixer. Mix on medium speed until pale and fluffy, about 3 minutes. Reduce speed to low; slowly mix in flour mixture until just combined.
  3. Divide dough in half. Transfer each half to a piece of parchment paper; shape into logs. Roll in parchment to 1¼ inches in diameter, pressing a ruler along edge of parchment at each turn to narrow log and force out air. Transfer in parchment to paper-towel tubes; freeze 1 hour.
  4. Preheat oven to 180˚C. Cut logs into ¼-inch-thick slices. Space 1 inch apart on parchment-lined baking sheets.
  5. Bake until edges turn golden, 13 to 15 minutes. Let cool on sheets on wire racks.

If you haven’t tried baking these, you gotta do it now. If there’s someone on earth that is hard to please with food, that would be boyf (okay, his mum and aunt who has a great sense of tasting comes before him actually) . Ever since he got into his culinary management class, he knows even more about food now. Guess what? He lovedddd the cookies! So what are you waiting for? ;)

Enjoy.
Jeul

Butter Cookies with a hint of lemon

lemonybuttercookiesLemon is such a great ingredient, no matter what you make, its (almost) always alright to add in a hint of lemon!

If you omit the lemon in this recipe, it will give you the most basic butter cookies. My mommy love these cookies so much and told me to make some for Chinese New Year! Thinking about it, and few weeks after Chinese New Year, I’ll be leaving for my exchange. I’m already missing everyone here in Singapore! My mom, my brother, my grandfather, my boyfriend and my awesomest friends. Oh well, back to topic, here’s the recipe!

Lemony Butter Cookies

Ingredients

  • 12 tbsp butter
  • ¼ cup icing sugar
  • ¼ cup caster sugar
  • zest of 2 lemons
  • 1 tbsp lemon juice
  • ½ tsp pure vanilla extract
  • pinch of salt
  • 1¼ cup plain flour
  • ¼ cup corn starch

Method

  1. Preheat oven to 160˚C. Line baking sheets.
  2. Cream butter, sugar, lemon zest until smooth. Add lemon juice and vanilla extract. Mix well.
  3. In small bowl, combine salt, flour and cornstarch. On slow speed, add wet ingredients and mix well. Scrape if necessary. Do not overmix!
  4. Place dough into piping bag and pipe 1-inch rosette.
  5. Bake for 15 minutes.

This is a relatively easy recipe to follow and it comes with great taste.
Hope you’ll like it :D

Enjoy.
Jeul

Tea & Cake are best friends

lemonloafcake

High-tea is one of the popular activities among the Singaporean, regardless of age group.

We often refer to people who can enjoy high-tea as “tai-tai” (only applicable for females) because many of a time, we hardly find time to enjoy cakes and tea. The way we say it, is to show how one have the luxury to enjoy life. It’s definitely not something bad, but rather something that people wish for.

The highlight of high-tea always comes with beautifully tiered-plates and a pot of tea. But if you’re at home, going simple is one way out. Bake these Lemon Tea Loaf cake and serve it with your favorite cup of tea.

I am pretty sure that this is one of the best cakes to go with tea.

Lemon Loaf Cake
Ingredients

  • 4 large eggs (room temperature)
  • 1⅓ cup sugar
  • pinch of salt
  • zest of 3 large lemons
  • 1¾ cup cake flour
  • ½ tsp baking powder
  • ½ cup heavy cream (room temperature)
  • 5½ tbsp butter (melted and cooled to room temperature)

Method

  1. Preheat oven at 180˚C. Butter and flour or line loaf pan (9 x 5 inch) with parchment paper.
  2. In a large bowl, whisk eggs, sugar and salt till foamy and smoothly blended. Then whisk in the lemon zest. NOTE: Egg, sugar, salt mixture should not thicken.
  3. Sift flour and baking powder mix in 3 portions. For each portion, spoon them into sifter and incorporate them with the foamy egg mixture. Whisk the flour mix lightly, and the same is for the next two additions.
  4. Whisk in heavy cream, then switch to rubber spatula and quickly fold in melted butter.
  5. Pour batter into prepared pan. Bake for 50-60 minutes till the center of the loaf crowns and a toothpick inserted comes out clean.
  6. Place the cake on a rack to cool.

I hope you like it :)

Enjoy.
Jeul

Rustic Cheese Tart

Hello there! If you are a fan of cheese, you gotta try this! My friends loved its rustic appearance. Well, you can fit it into a tart case, I chose to fit it into a disposable tart case and pinch the sides of the crust to make it look rustic. Whichever way you choose to mould the crust, it is going to taste great! My friends just couldn’t put a stop to the cheese tart.

rusticcheesetart

Rustic Cheese Tart

Ingredients

Crust

  • 380g plain flour
  • 125g icing sugar
  • 200g unsalted butter
  • 1 egg
  • 10g cocoa powder (optional)


Filling

  • 500g cream cheese (soften)
  • 120g unsalted butter (soften)
  • 120g icing sugar
  • 1 egg
  • juice of 1 lemon


Method

Tart Crust

  1. Mix butter and icing sugar. Beat until soft.
  2. Add in egg and mix well.
  3. Beat flour and cocoa powder until well blended. Dough will be ready soon!
  4. Press dough into tart moulds, poke holes on the bast of tart.
  5. Half bake the tart crust for 10 minutes at 200˚C.

Filling

  1. Combine icing sugar, butter and cream cheese and beat until soften.
  2. Mix in eggs and lemon juice till well combined. Once ready, put the cream cheese mix into the piping bag and pipe them into the half baked tart crust.
  3. Finally, bake the tart crust and the cream cheese filling for 5 minutes at 220˚C.

I’ve topped mine with blueberry compote, you can also do it with kiwi slices. However do bear in mind to only top the kiwi slices when the cheese tarts are completely cool, otherwise your kiwi slices are going to turn yellow.

Hope you’ll have fun! :)

Enjoy.
Jeul

Hello December

And I thought it might be a good date to begin my first blogpost.

I’ve always been thinking about setting up a blog about my bakings. I dare not say I’m good, but I’m definitely learning and exploring. “Red” is always the auspicious color for the Chinese, so….. *drum roll*

The first blogpost shall begin with the Red Velvet Cupcakes!

Red velvet cupcakes have been pretty popular or even famous recently, from nothing to something that every Singaporean would have heard of and would like to try tasting/making them. I once baked a red velvet whole cake, I’m not a fan of colorings and the coloring used for it was really heavy. It took me quite a while to bring myself to trying making it again, this time in the form of cupcakes.

red velvet cupcake

This cupcake recipe I’ve used have a really soft and velvety texture! Unlike some cupcakes you have in the market, it tends to have a pound cake-like texture, heavy and dense. The frosting is a little wet but not sweet at all. It’s amazing.

I really wish to share this recipe, bad news is I lost the URL to where I adapted the recipe from :(

To make up for that, I’m sharing this recipe from the famous Magnolia Bakery in New York written in one of my favorite baking blogs.

Enjoy.
Jeul